
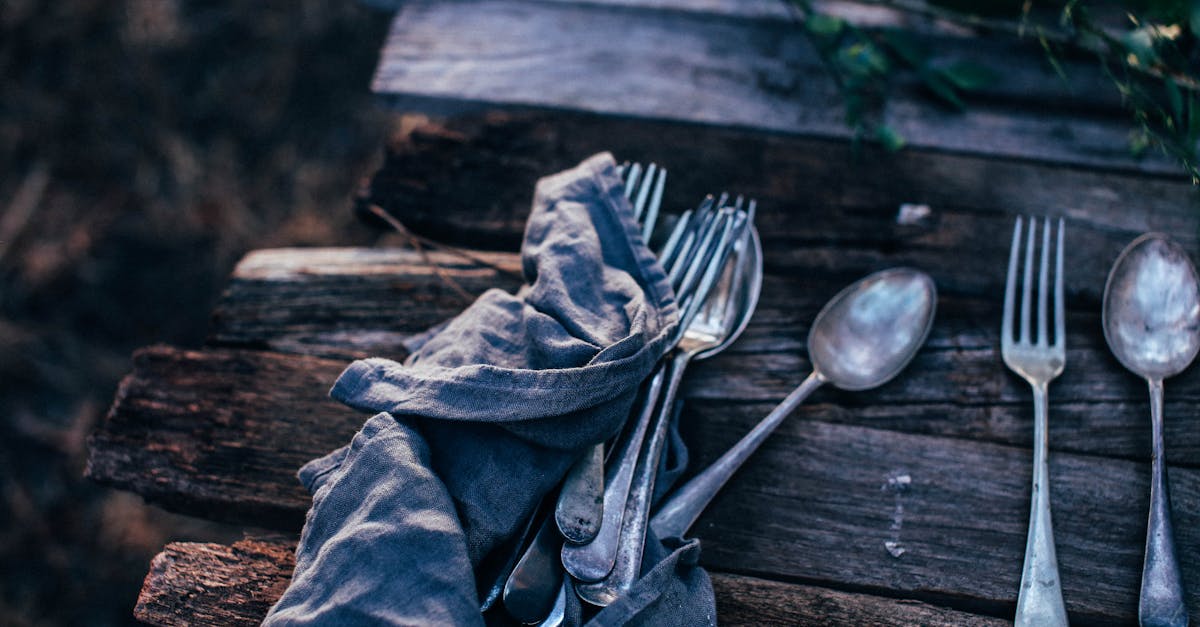
There’s something distinctly satisfying about walking through a garden where every plant is labeled by hand, especially with upcycled, characterful markers we’ve made ourselves. If you’re like us, you probably have a few mismatched or tarnished old spoons rattling around in a kitchen drawer.
Good news: Those forgotten utensils are just begging to be repurposed into charming, durable garden markers. Today, we’ll walk you through exactly how to make your own garden markers from old spoons, giving your veggie rows and flower beds a personal (and eco-friendly) touch.
Why Use Old Spoons for Garden Markers?
Before we start hammering and painting, you might be wondering why old spoons are such a great choice for DIY garden markers. For starters, they’re tough, much sturdier than the typical plastic tags that have a knack for vanishing mid-season or fading in the sun. Spoons are also naturally weather-resistant, making them a long-term solution that stands up to rain, wind, and intense sun.
But the real magic lies in upcycling. By giving these utensils new life, we’re reducing waste and adding a little history and personality to our outdoor spaces. Each spoon can carry its own story, from thrift store finds to hand-me-downs from family kitchens, which brings a warmth you just can’t get from anything store-bought.
What You’ll Need: Gathering Materials and Tools
Let’s talk supplies. Most of what we need can be found around the house, but don’t be afraid to hit up a thrift store if you’re short on old cutlery. Here’s a quick rundown:
- Old metal spoons (the more vintage, the better)
- A hammer or mallet (for flattening)
- Hard, sturdy surface (like a concrete step or anvil)
- Permanent markers, acrylic paints, or enamel pens (for decorating)
- Clear outdoor sealant spray or Mod Podge (to protect your designs)
- Rags and rubbing alcohol (for cleaning spoons)
- Optional: Metal stamps and a stamping hammer for a professional look
Gathering everything in one spot makes the process smoother, plus, it’s half the fun rooting through your silverware for the weird ones you never use.
Step By Step Guide to Making Spoon Garden Markers
Preparing the Spoons
First things first: we need clean, flat surfaces to decorate. Start by washing the spoons well, scrub away any tough spots with a dab of rubbing alcohol and a rag. Give a quick dry, then lay the spoon bowl-side up on your hard surface. Carefully hammer the spoon to flatten the bowl: steady, gentle taps are key. This part can get noisy (and it’s oddly satisfying), so maybe warn the neighbors.
Personalizing Your Markers
With your spoon pressed flat, it’s time to let your creativity out. We love using permanent markers for simple plant names, but acrylic paint or enamel pens add pops of color. For a truly bold effect, try metal stamping, the result looks subtly vintage and is completely weatherproof. Add plant names, planting dates, or even small doodles. If you’re working with young gardeners, let them each design a few markers.
Applying Weatherproof Finishing Touches
We want our designs to go the distance through sun, storms, and soil. Once your label art is dry, spray your spoon marker with a clear outdoor sealant or coat it with weatherproof Mod Podge. Apply in a well-ventilated area and give it enough time to completely dry before putting the marker into the ground. This sealant layer is the secret to garden markers that hold up season after season.
Creative Ideas for Decorating Spoon Markers
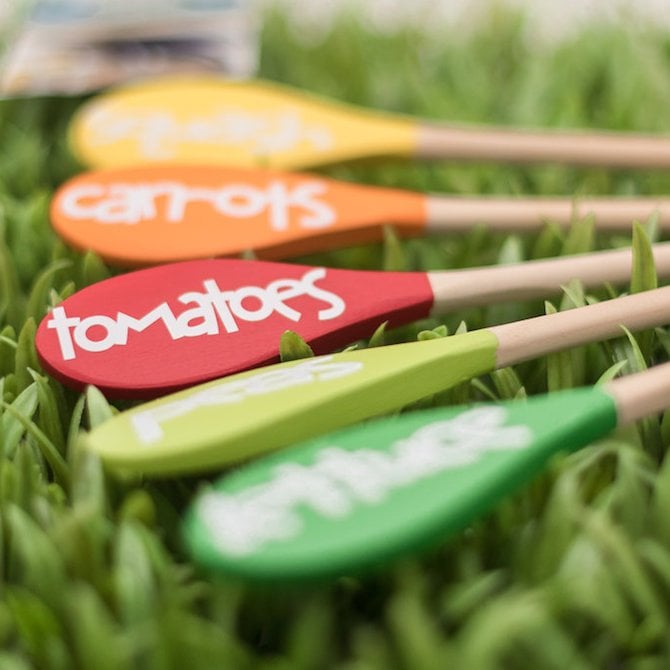
Here’s where you can really flex your imagination. Don’t stop at just writing the plant name, try these ideas for extra flair:
- Color code your markers with background paint for each veggie or herb family.
- Add mini illustrations: Tomatoes get a tiny red fruit, carrots get a little orange root.
- Use metallic sharpies or enamel: for a shimmery, eye-catching look.
- Stencils and stickers can help with fun patterns or create crisp lettering.
- Mix script and block lettering for playful contrast.
Every little artistic touch adds personal charm and makes finding your cilantro from your parsley at a glance much simpler. Plus, unique markers make awesome conversation starters when friends tour the backyard.
Tips for Using and Placing Your Garden Markers
Once our new markers are ready, it’s smart to think about where and how we’ll place them. Here are a few pointers:
- Stake markers at the base of each plant so they’re easy to spot but don’t crowd the stems.
- Angle the spoon slightly for the best visibility when standing over the bed.
- Push firmly: Get the handle deep into the soil for stability, especially if you’re gardening in windy spots.
- Group by plant family for quick reference, helpful in larger or more complex gardens.
- Clean periodically: Wipe off dirt or algae with a damp cloth to keep your labels clear.
It’s amazing how these little touches can streamline our gardening routine. Say goodbye to forgotten plantings and surprise mystery greens.
Conclusion
Turning old spoons into bespoke garden markers isn’t just about labeling what we plant, it’s a small act of creativity that brightens our patch of earth. We end up with markers that tell a story, withstand the weather, and make our gardens uniquely ours. So next time you notice those forlorn spoons rattling around, imagine not just what’s for dinner, but what’s growing in your garden. Roll up your sleeves and give it a try, your future self (and your tomatoes) will thank you.
Key Takeaways
- Old spoons make durable, weather-resistant garden markers that outlast typical plastic tags.
- Upcycling old spoons for garden markers helps reduce waste and adds personal charm to your garden.
- Flatten and clean the spoons before decorating with permanent markers, paints, or metal stamps for a unique touch.
- Protect your DIY garden markers with a clear outdoor sealant to keep your designs vibrant season after season.
- Place your custom markers firmly at the base of each plant for easy identification and continued garden organization.
Frequently Asked Questions About Making Garden Markers from Old Spoons
How do you make your own garden markers from old spoons?
To make garden markers from old spoons, clean and flatten the spoons with a hammer, personalize them with paints or markers, then seal with clear outdoor sealant. Once dry, stick the handle into the soil near your plants for a charming, weatherproof label.
What materials do I need for spoon garden markers?
You’ll need old metal spoons, a hammer, a sturdy surface, permanent markers or paints, rubbing alcohol for cleaning, and a clear outdoor sealant. Optional materials include metal stamps for a professional look and creative extras like stencils or stickers.
Why should I use old spoons as garden markers instead of plastic tags?
Old spoons are sturdier, naturally weather-resistant, and less likely to fade or break than plastic tags. Using spoons for garden markers also helps reduce waste by upcycling, and adds a personal, unique touch to your garden.
How can I make spoon garden markers last longer outdoors?
After decorating, always apply a clear outdoor sealant or weatherproof Mod Podge to your spoon markers. This protective coating keeps the design safe from rain, sun, and soil, ensuring your labels last for multiple seasons.
Can I use spoon garden markers for all types of plants?
Yes, spoon garden markers are suitable for herbs, vegetables, flowers, and even indoor potted plants. They can be customized for any plant type and make it easy to identify different species in your garden.
What are other creative ideas for making DIY garden markers?
Besides old spoons, you can use painted rocks, wooden popsicle sticks, wine corks on skewers, or broken terra cotta pots. For sustainable options, always look for items that are durable and can handle outdoor weather conditions.

